
The genealogy bug first bit me in 1998, when the family historian of my mother's generation asked me a simple question about my father's father. Um, I barely knew Grandpa Isaac Burk's name, certainly not when and where he was born or died. But I became determined to find out and what an adventure that was.
Since then, I've had a wonderful time teaming up with my cousins around the world to learn more about my mother's side of the tree (Farkas, Kunstler, and Schwartz families), as well as my father's side of the tree (Burk, Jacobs, and Mahler families).
It's not a secret that I truly 💘 in-laws. This year I created a colorful booklet about the Pietroniro family, in-laws on my hubby's side of the tree. Then younger relatives chimed in with their fond memories and I reprinted the booklet to include what they had to say, in detail.
I continue to improve and/or create memorials on FindaGrave, WikiTree, Fold3, and the usual big genealogy sites. This is cousin bait and a good way to share what I know with relatives and other researchers. I also enjoy participating in some of Amy Johnson Crow's #52Ancestors challenges, as well as WikiTree Connect-a-Thons and genealogy chats on Bluesky.
During 2025, I made three in-person genealogy presentations and many more virtual presentations, including a free Virtual Genealogy Association talk about cousin bait. Plus, my sis and I presented two programs about identical and fraternal twins (something we know a lot about, being the twin daughters of a twin).
In addition, this year I had professional shadowboxes made for Dad's World War II memorabilia and Mom's childhood jewelry (with her twin sister's as well). These archival-quality frames will keep the artifacts and the stories safe for the future.
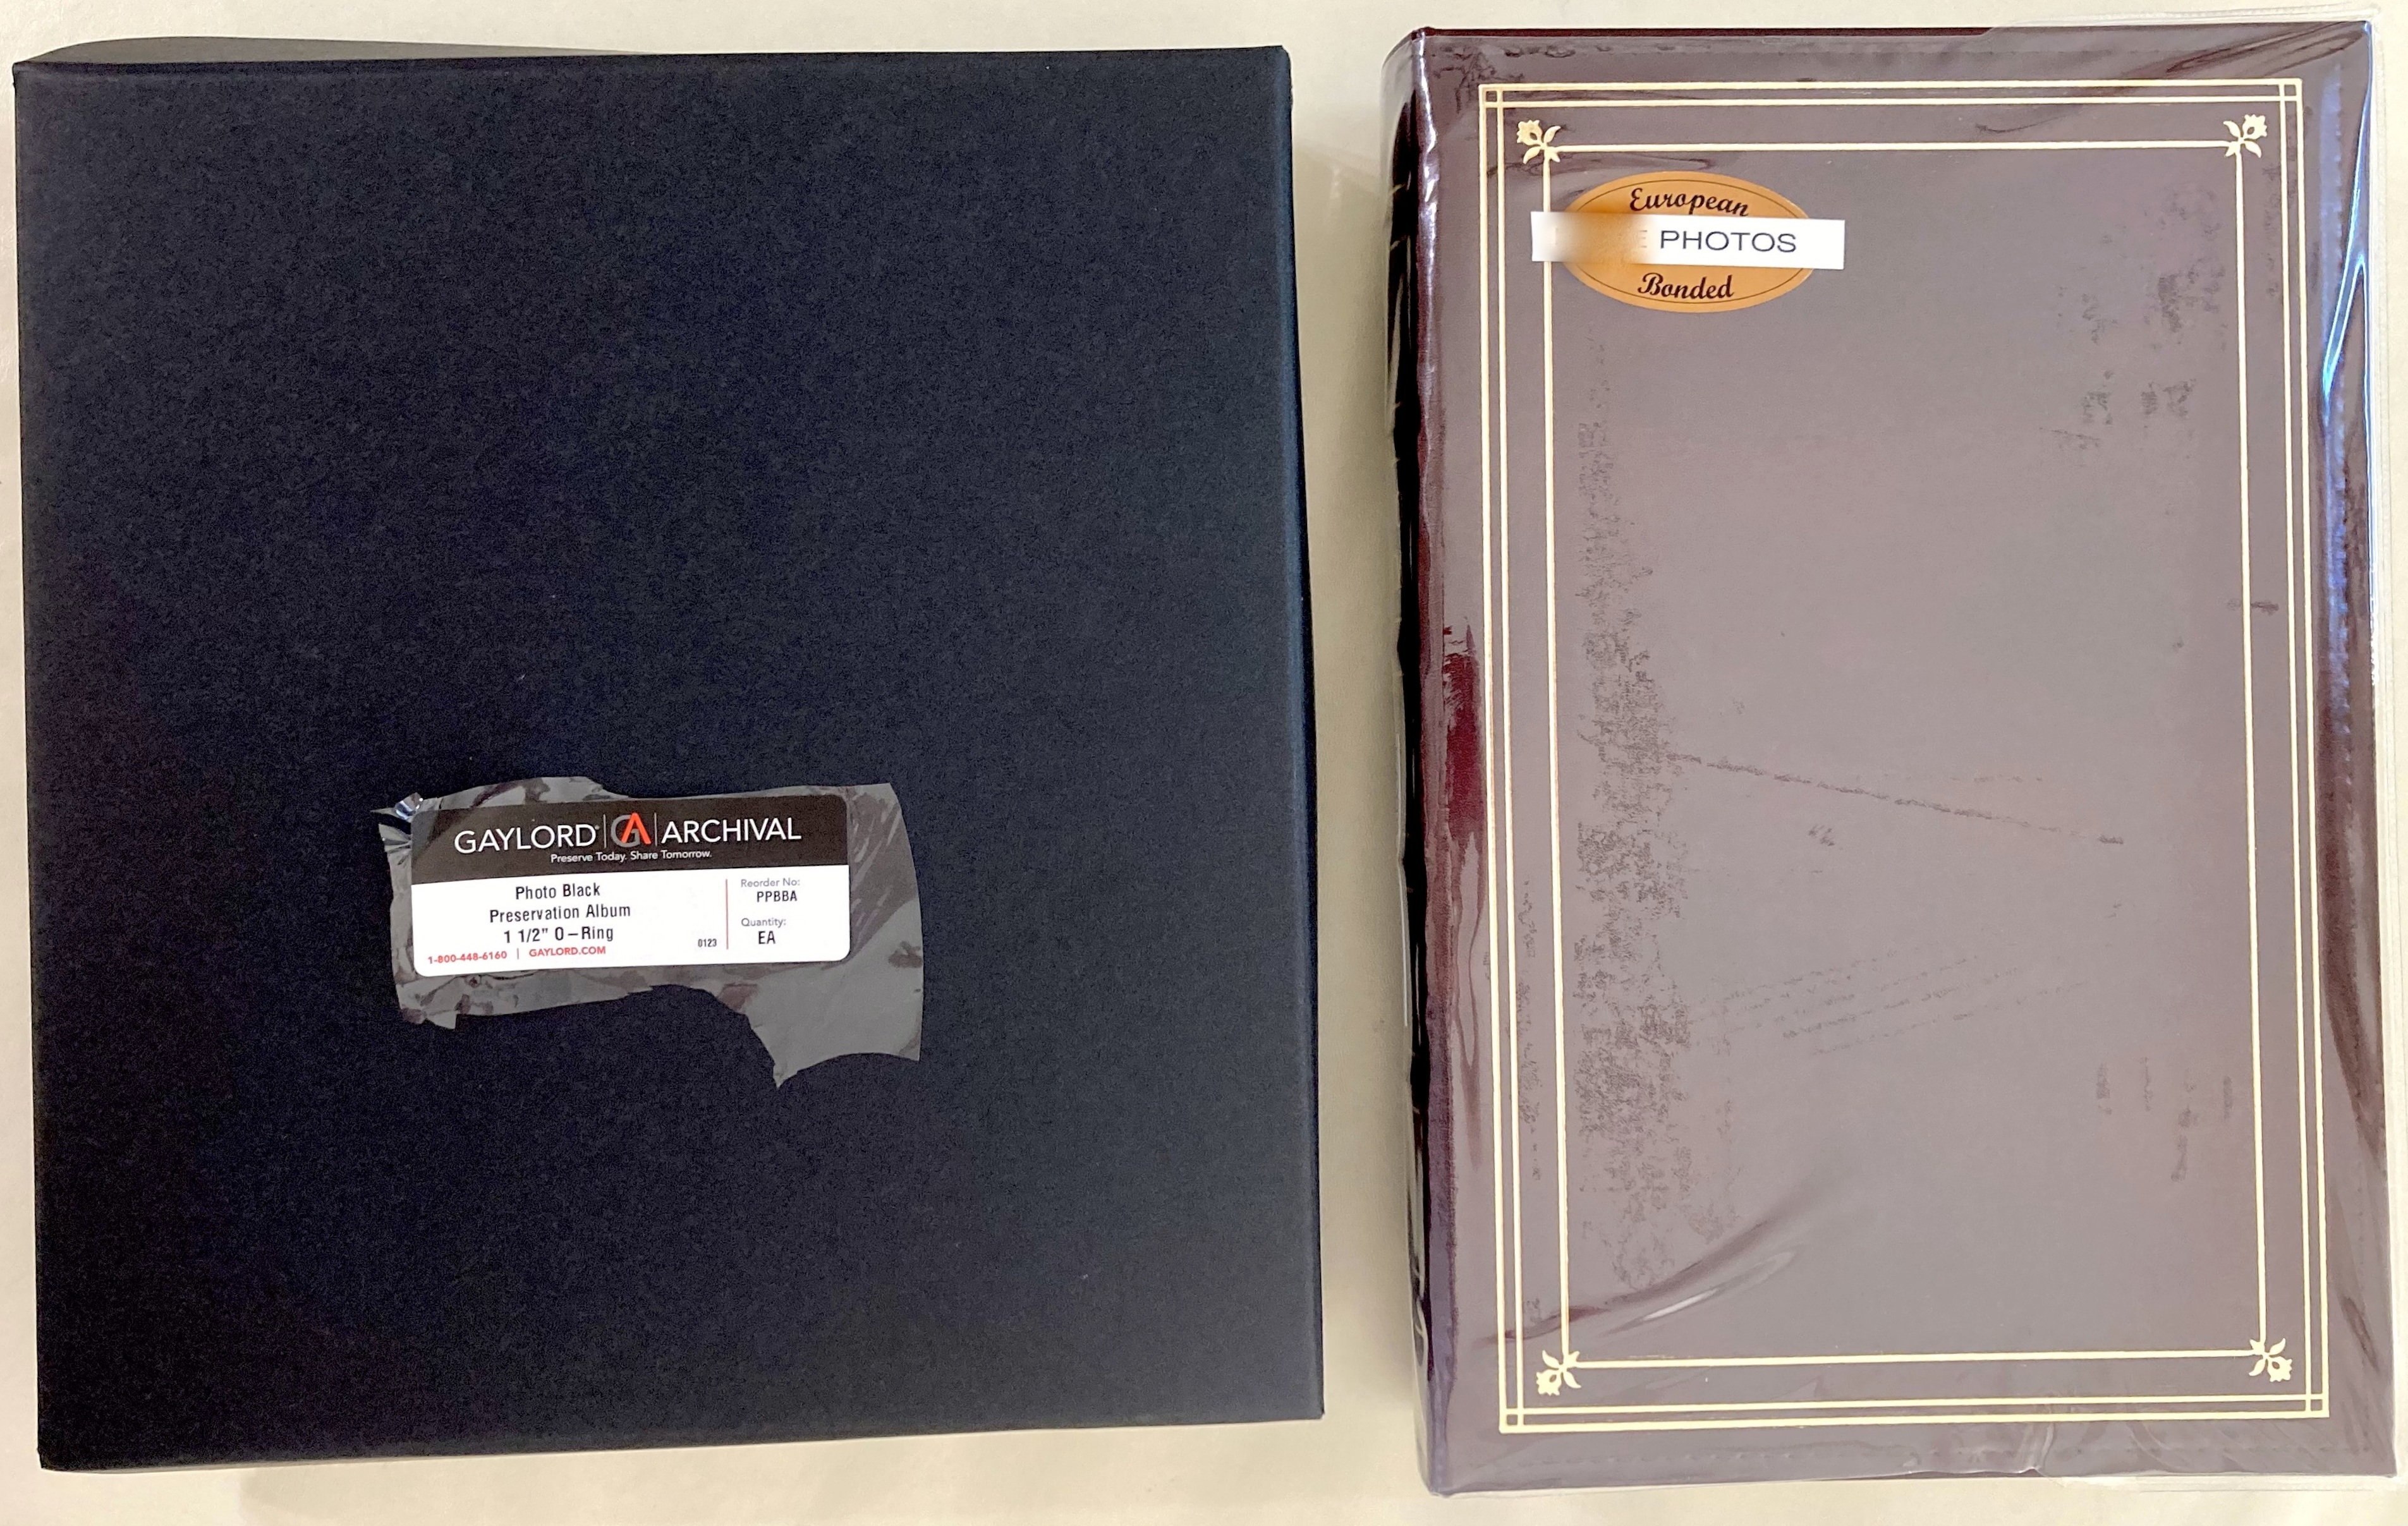
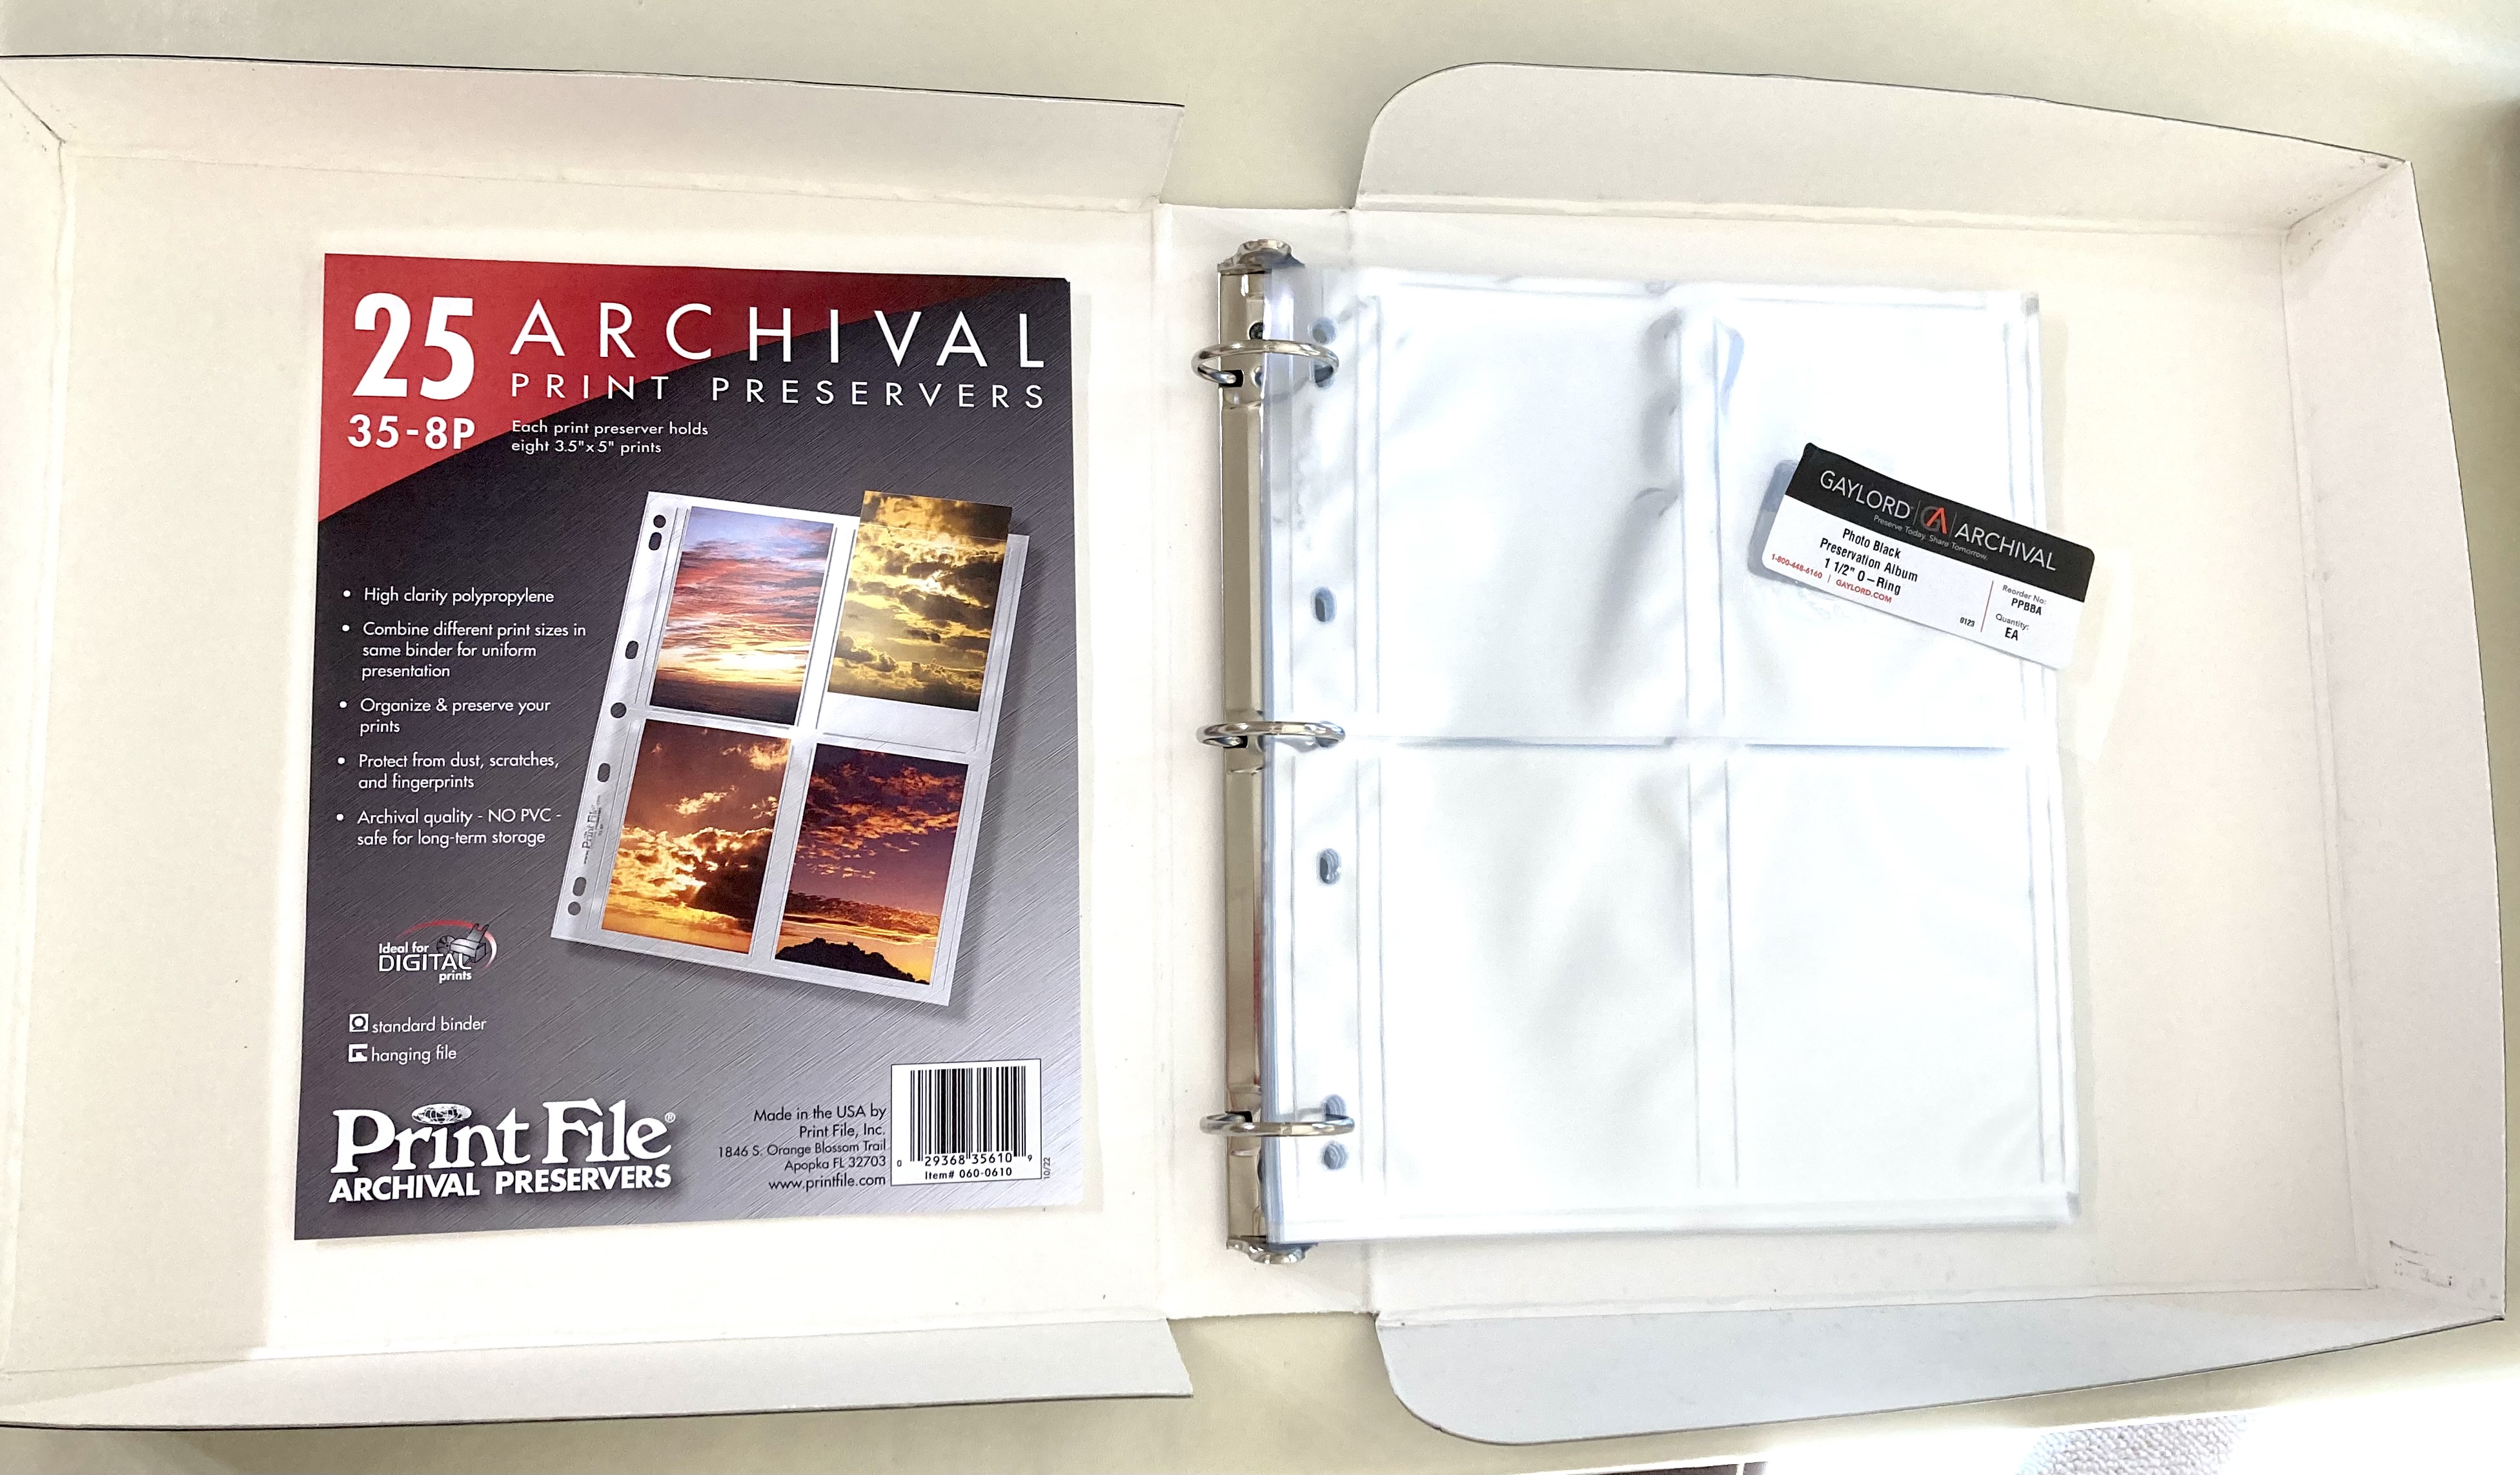
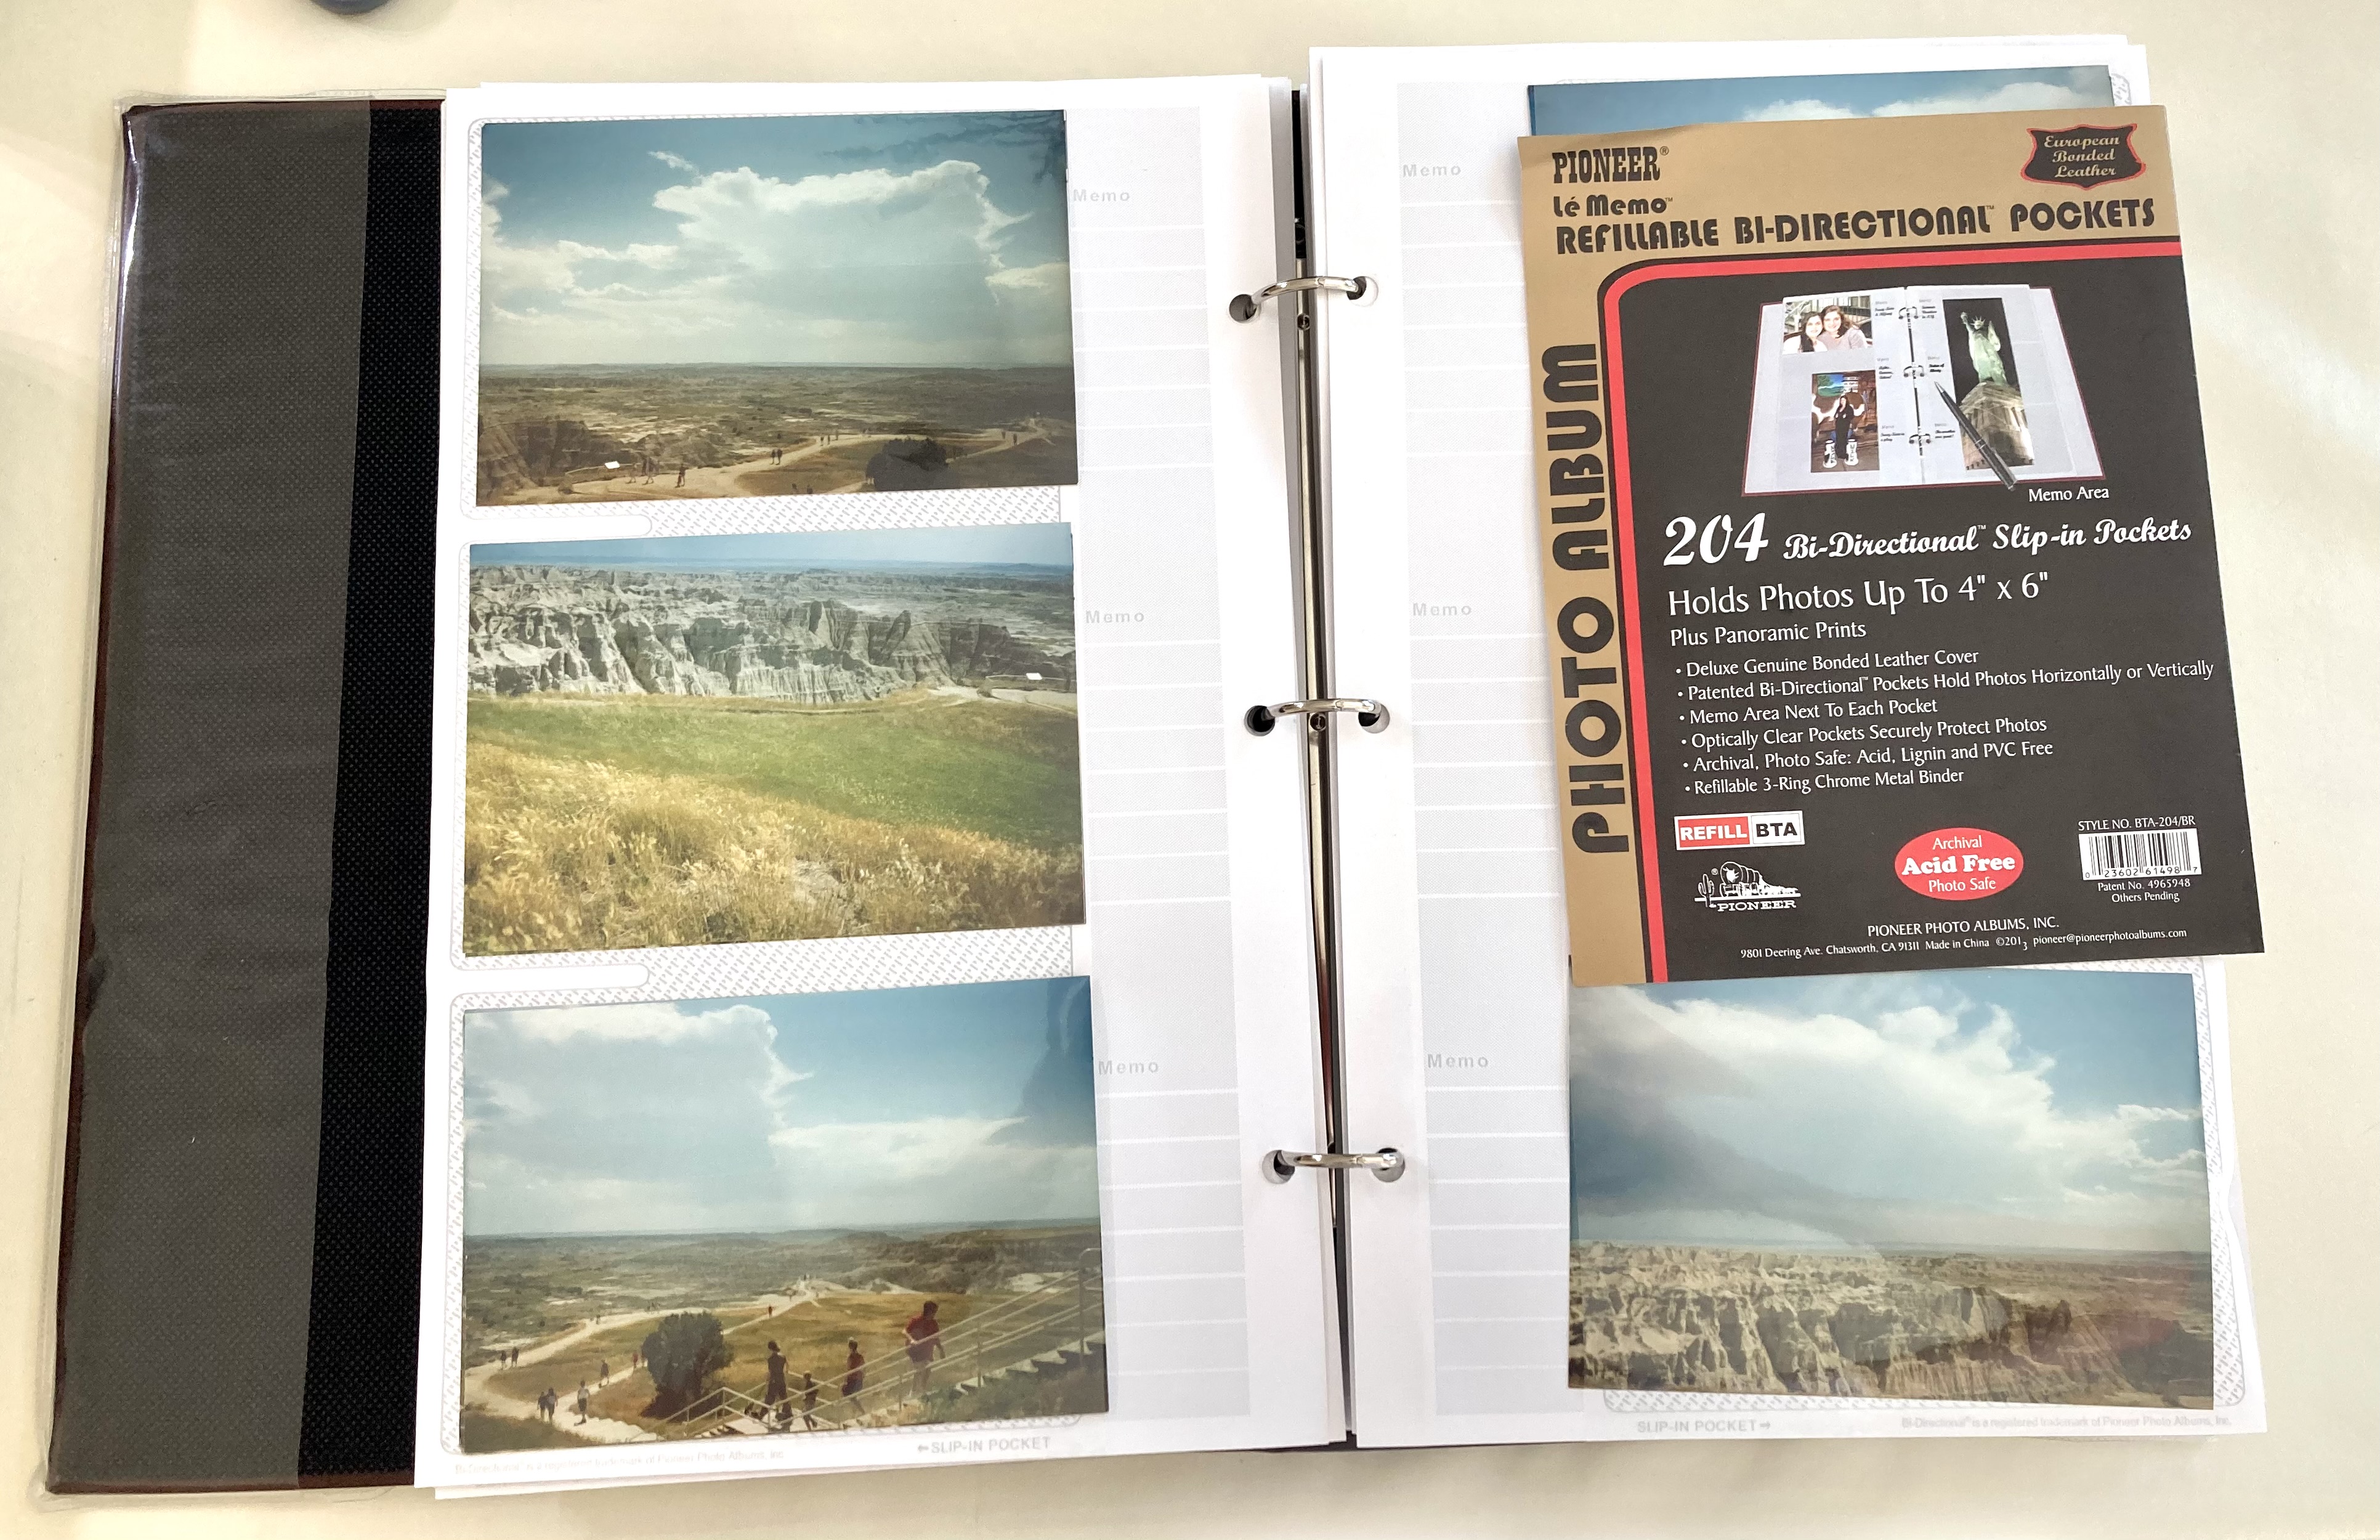
Looking ahead, I plan to move old original photos from archival boxes to archival albums. Just about everything has been digitized but now I want to better organize the loose photos for the sake of future generations. I stalled out on this project a couple of years ago, so 2026 will be my year of archival albums.
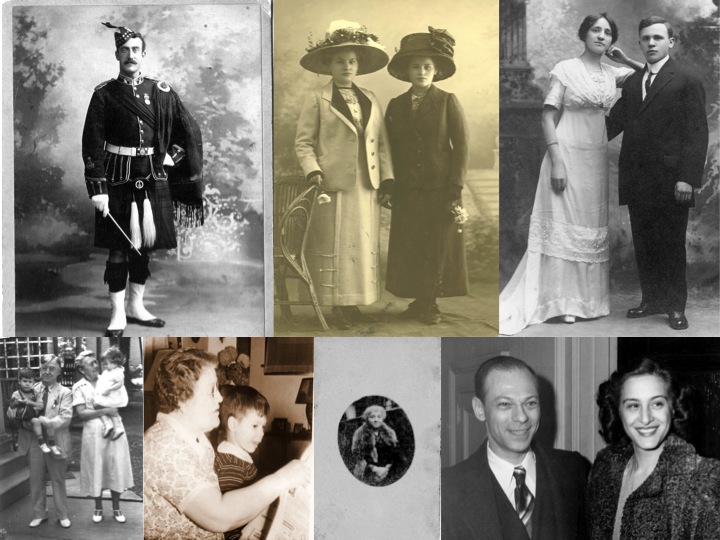
Now I have another bite-sized family history photo book in mind for 2026, about my parents and my siblings. This will be a great opportunity to tell my own story in context! 😊
Finally, I want to do something with the letters written from folks in England who met my aunt Dorothy, the WAC, when she was posted there during World War II. These kind people took the time to write Dorothy's parents. I've been in touch with a gentleman who is distantly related to the letter-writers, and he is tracing a direct descendant. If that doesn't work out, I will donate the letters to a museum or historical society in 2026.
Wishing you all the best in this new year.