
It's a fun opportunity to be part of a worldwide community scanning photos (and documents), posting to online trees, and/or sharing with family. You still have time to get in on the fun by scanning Friday through Sunday (and beyond).

Today I wanted to describe the process in a little more detail. Even though I'm using a Flip-Pal, which makes it convenient to quickly scan snapshots from the past, there are a few steps needed to go from scan to finished image ready for the family tree or family sharing. (I do not post photos of living people, by the way, so these particular scans are intended for family sharing--a great way to preserve the past for future generations.)
After scanning, I pull the SD card from the Flip-Pal and load the images into my Mac-based photo management program. (Note: I use Picasa3, no longer supported by Google, although it may still be available. I'm not ready to change yet, because Picasa serves my needs quite well, but at least workarounds and alternatives exist if needed in the future.)
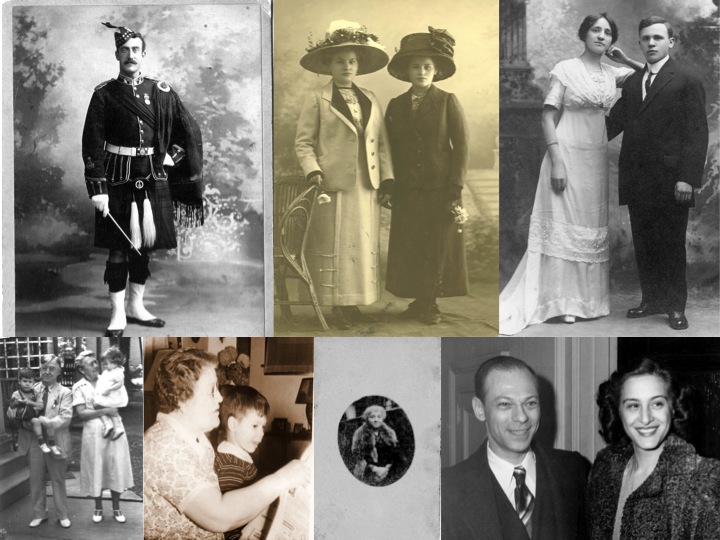
Sis and I completed 181 scans, including the full image of a snapshot from this batch shown at top. Note that because the snapshot is smaller than the full Flip-Pal scanning window, white background shows behind the photo. (I added the blue border digitally to clarify where the photo itself ends and the Flip-Pal background begins.)

My next step is to open each scanned image and crop out the white background, as shown just above.

So after cropping, I decide whether to alter the colors, contrast, sharpness, etc. Neither of the above photo scans has been altered.
Now compare with the slightly brightened photo at left, where the sand is lighter so the kiddie stands out a bit better. Yes, I altered the sand's coloring a smidge, but I didn't change what the image shows.
Some people prefer to scan and leave the scanned image like the original. Me, I want my image to be more like the original original. In other words, I try to be fairly faithful to what the snapshot was like at the time it was taken. If the snapshot was originally too dark, I lighten it a teensy bit so the person or place is viewable. If things are slightly blurry, I try to sharpen the image. (I don't put people in or take people out. That's where I draw the line!)
Scanning and cropping, plus color or contrast correction, are not the end of the process. Next step is to caption each image. A picture is worth a thousand words, but I'll be much more succinct in my captioning ;)
Sounds like you are making progress. What's your personal goal during the Scan-a-thon?
ReplyDeleteHi Linda, No personal goal--this is an ongoing project that will stretch for several months. But I do intend to do more scanning tomorrow. As you saw above, post-scanning process requires a minute or two per photo. And that's before I organize the photos, which I'll be blogging about shortly. Thanks for your comment!
ReplyDelete